(Newswire.net — May 25, 2024) — Are you eager to learn how to create a stunning beaded bracelet with a secure clasp? If so, you’re in the right place! Crafting your own accessories can be incredibly rewarding, and making a beaded bracelet with a clasp is a fun and fulfilling project for beginners and seasoned crafters alike.
In this guide, we’ll walk you through the materials needed to make a beaded bracelet with a clasp and provide step-by-step instructions on how to bring your vision to life. Whether you’re looking to unleash your creativity or add a personal touch to your wardrobe, mastering this skill opens up endless possibilities. So let’s dive in and discover the art of crafting beautiful beaded bracelets with clasps.
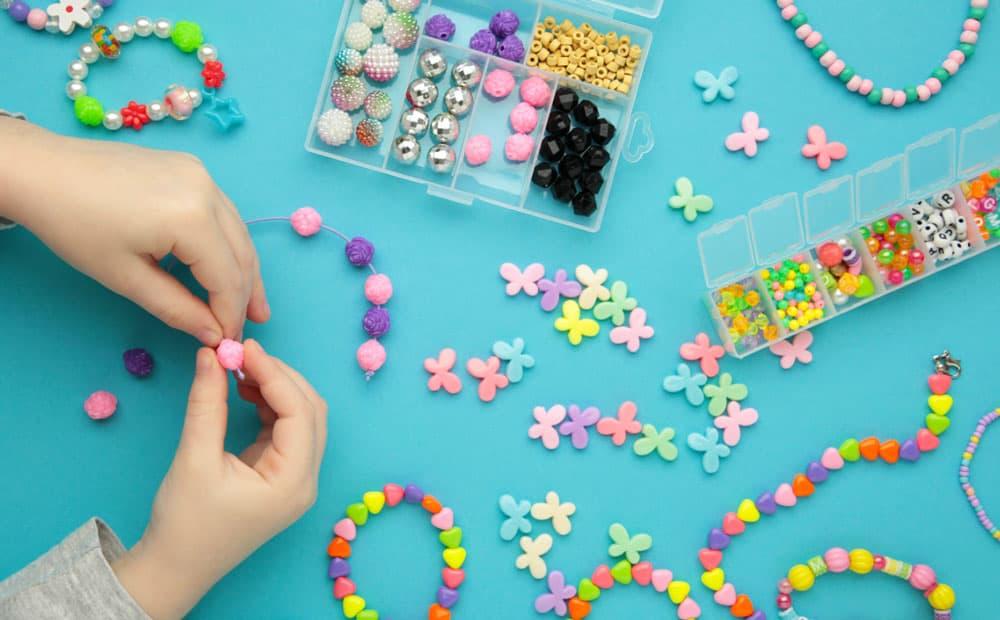
Materials Needed for Making Beaded Bracelet with Clasp
Before creating a beaded bracelet with a clasp, it is important to prepare the materials. Here’s what you’ll need:
- Beads: Choose your favorite beads in various colors, shapes, and sizes. Consider using gemstone beads, glass beads, or even wooden beads for a unique touch.
- Clasp: Select a clasp that complements your beads and fits the style of your bracelet. Lobster clasps and toggle clasps are popular choices.
- Jewelry Wire: Opt for sturdy jewelry wire that can withstand the weight of the beads. Be sure to choose a gauge that matches the size of your beads.
- Crimp Beads: These small beads are essential for securing the ends of your bracelet wire to the clasp.
- Needle-nose Pliers: These will help you manipulate the wire and attach the clasp securely.
- Wire Cutters: Use wire cutters to trim the excess wire and create a neat finish.
- Bead Design Board (Optional): A bead design board can help you plan the layout of your bracelet and ensure a balanced design.
How to Make Beaded Bracelet with Clasp
Now that you have prepared the materials, let’s step into the step-by-step process of making a beaded bracelet with a clasp:
Step 1. Plan Your Design
Lay out your beads on a bead design board or a flat surface. Experiment with different arrangements until you find a design you love.
Step 2. Cut the Wire
Measure and cut a piece of jewelry wire to the desired length for your bracelet, adding a few extra inches to accommodate the clasp and crimp beads.
Step 3. Attach the Clasp
Thread one end of the wire through the loop of the clasp, then fold it back and secure it with a crimp bead. Use needle-nose pliers to flatten the crimp bead and ensure a tight grip.
Step 4. String the Beads
Begin stringing your beads onto the wire in the desired pattern. You can follow the design you planned or improvise as you go.
Step 5. Add the Clasp to the Other End
Once you have strung all your beads, thread the wire through the loop of the other half of the clasp. Secure it with another crimp bead and use the pliers to flatten it.
Step 6. Trim Excess Wire
Use wire cutters to trim any excess wire, leaving a small tail to tuck into the nearest bead for a clean finish.
Step 7. Test the Clasp
Before wearing your bracelet, make sure the clasp closes securely and holds the bracelet in place. Once the clasp is securely attached, your beaded bracelet is ready to wear or gift to someone special!
With these steps, you can create a beautiful beaded bracelet with a clasp that’s unique to your style and preferences.
Conclusion
Creating your own beaded bracelet with a clasp is a wonderfully rewarding and creative endeavorjavascript:mctmp(0); that is perfect for crafters of all skill levels. By following our guide, you will gain the knowledge and skills needed to make beautiful accessories that truly reflect your individual style. From choosing the perfect beads to mastering the art of securing a clasp, each step has been carefully designed to help bring your creative vision to life. Start your journey today and unlock the joy of handmade accessories!